This article will guide you through the process of creating a channel.
How to create a channel?
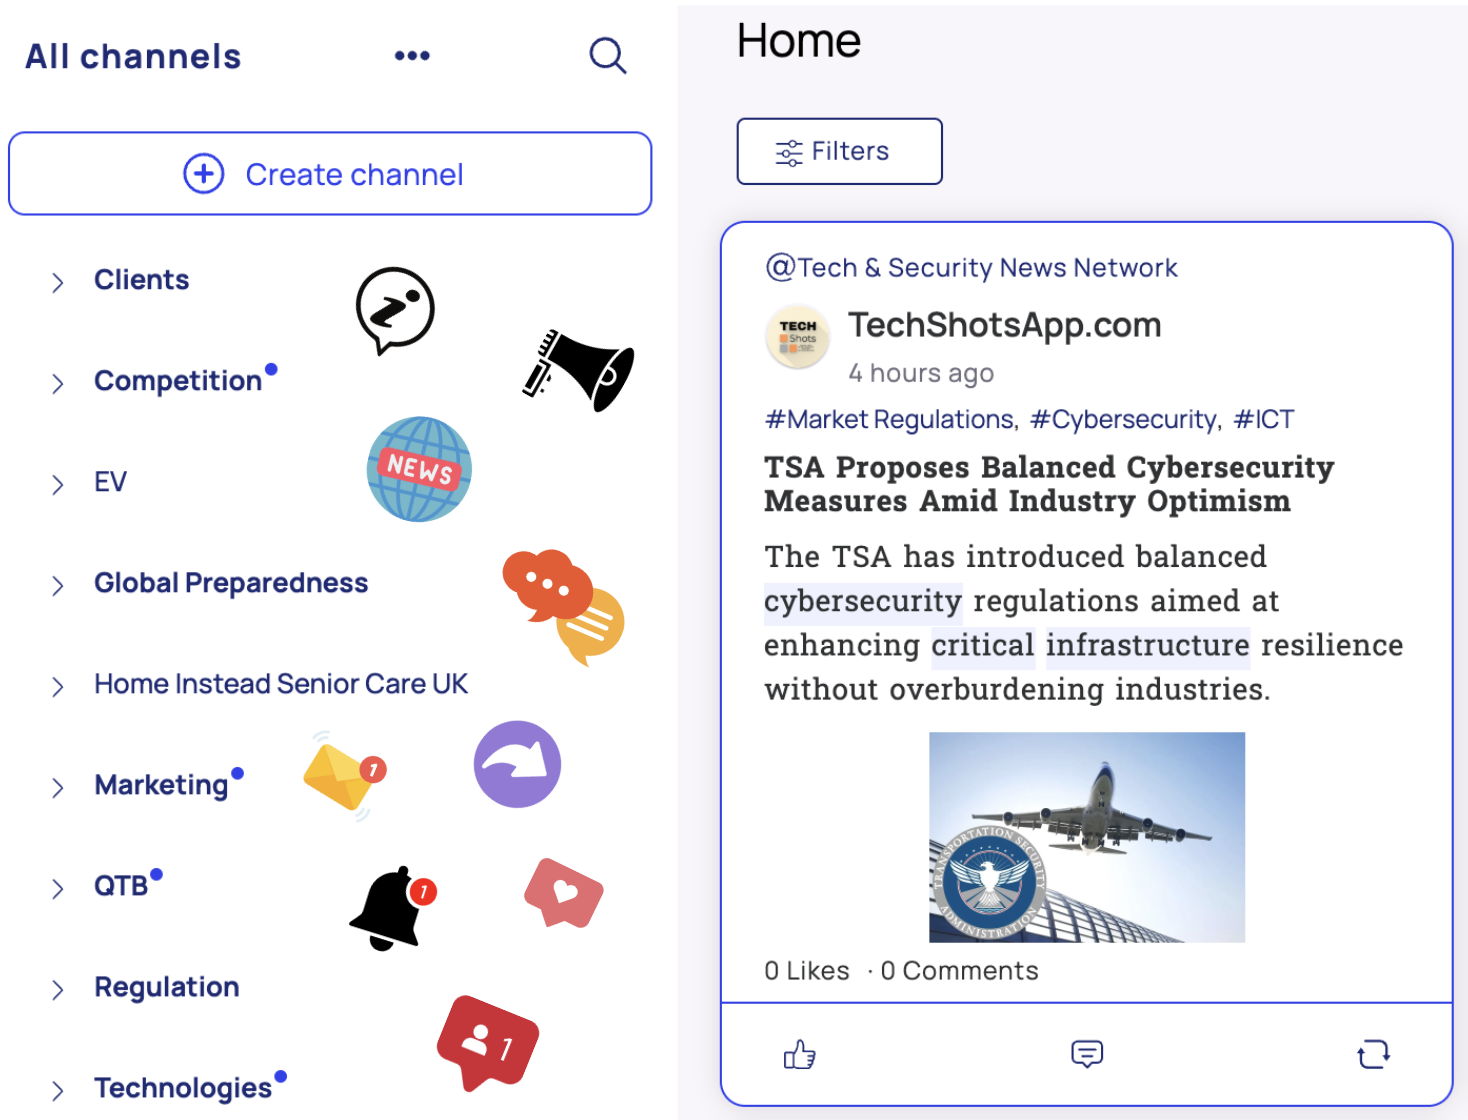
1️⃣ Once in your home page, click on "+ Create channel" at the top left.
2️⃣ Write your prompt:
A prompt refers to a search query or a request for specific information. It is used to guide the platform’s search function, where a user submits a specific term or set of terms to find relevant information. The prompt helps to focus the search by specifying what you are looking for in terms of a topic, sector, region, inisights or companies.
Example of prompt:
I want updates on any news related to aerospace investments projects, specifically focused on new fundings, M&As/partnerships and everything related to startups or new aerospace ventures.
3️⃣ Click on "Refine prompt"
This is where the AI takes over. It will rephrase the prompt for you in a more redacted and exhaustive version. You can edit anything in this new reformulation if you are not happy with the results. It's adding a layer of precision.
4️⃣ Click on "Generate preview".
Channel preview:
In your channel preview, you can see the exact query that will be used to define the articles you will see in your channel. You can edit it as you want by adding or deleting a topic, sector, insight, etc.
Then you will se your preview. This is an avant-goût of what type of articles you will have in your channel and how many articles are generated per week.
5️⃣ Select "Configure settings".
Here are your channel's settings. You can:
- Edit your channel's name
- Choose the access level
Public default (all members are automatically subscribed to this channel
Public optional (members will have the option to subscribe or not)
Private (only can see the channels and other IF you invite them)
- add a weekly summary post
Once in the description section, you will see the current description used when the channel was created.
5️⃣ Make Changes: Edit the description as needed by removing unnecessary content and adding details relevant to your topic.
6️⃣ Click "Save."
After saving:
- A new query will be generated based on the updated description.
- Green: Added content.
- Yellow: Modified sections.
- Gray: Deleted content.
7️⃣ Use the "Show changes" option to view before/after comparisons.
8️⃣ If you're not satisfied, refine the query by clicking on filters, adding/deleting content, or inserting lines. For details, refer to the article "Edit a Query."
9️⃣ Save Options: Choose to save only the query or both the query and the description.
🎉 You're all set!
We hope this article was helpful! Feel free to explore our other articles if you need further assistance, and don’t hesitate to reach out to us if you have any specific questions.


